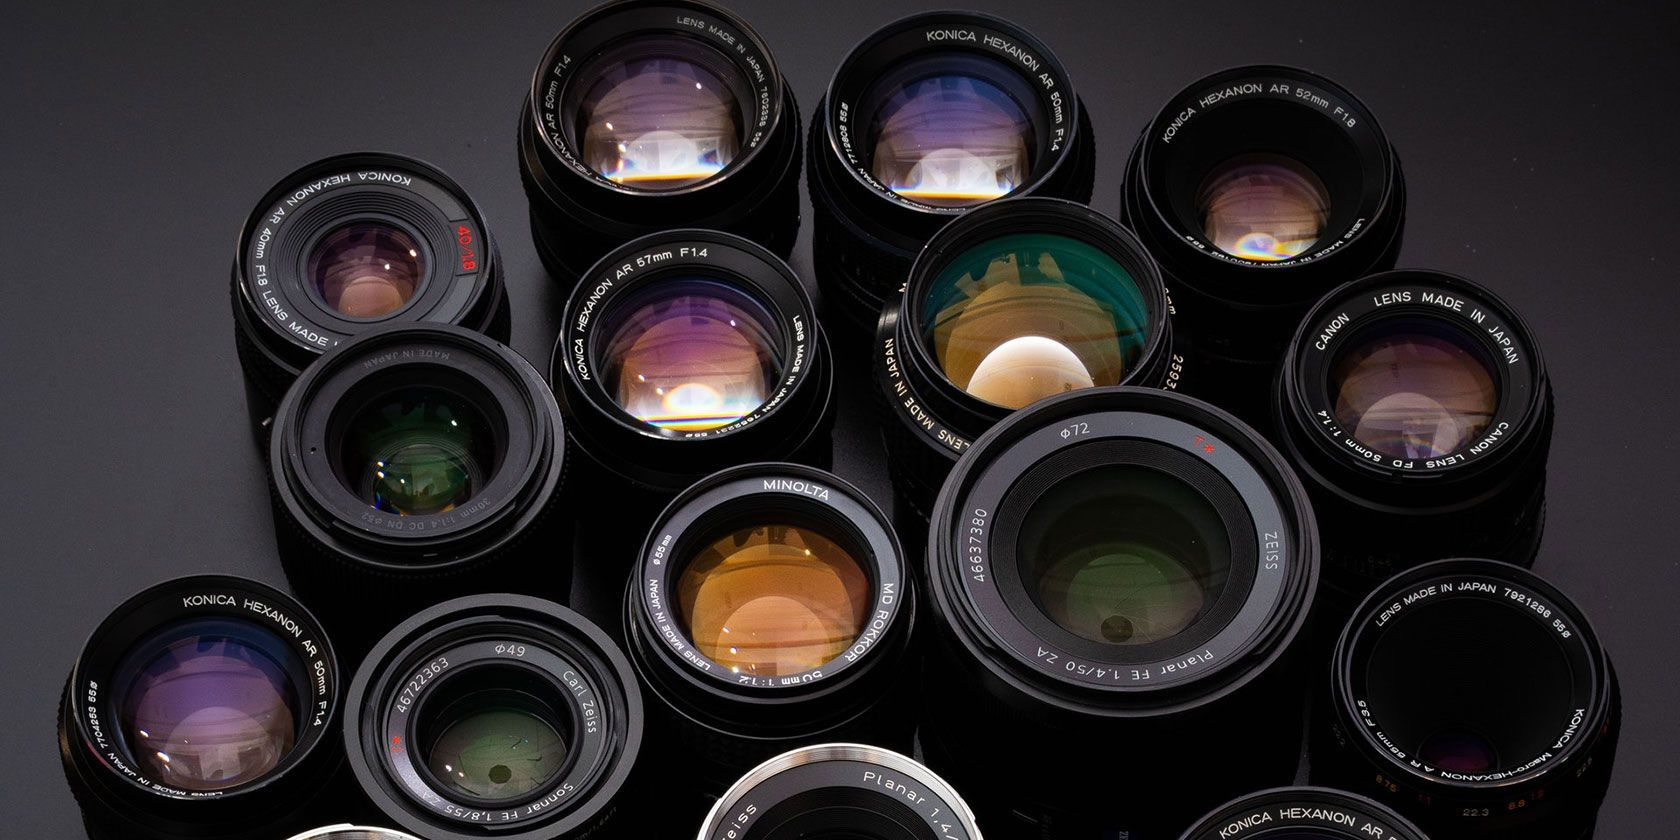
Yep, you can genuinely use any 67mm lens filter you want! Here's some ideas for you...
Oh, imagine all the possibilities!...
Uniquely, Odin allows you to replace the supplied lens filter with any 67mm filter you want to use. Simply unscrew the old lens and then screw in your preferred lens, or combination of lenses, as desired. Include into the mix the ability to control the Odin's ISO and shutter speed and you have some very creative possibilities available to you. Possibilities that would normally only be the remit of much more expensive, high-end, digital cameras.
One bit of advice from us is, if you intend to use your Odin for long-term, outside, projects we would recommend you check the supplied O-ring is in place and that it is fully firmly sealed against your new lens. Failure to check this seal might cause water to ingress into the camera and hamper your filming. We have several O-ring sizes available if you ever need a larger, or smaller, O-ring. Please do not use nitrile O-rings as these will perish and fail.
The below lens guide is taken
www.exposureguide.com . All rights reserved.
Lens filters are transparent or translucent glass elements that attach to the front of a lens. They protect the camera lens, alter the characteristics of light passing through the lens or add special effects and colours to an image.
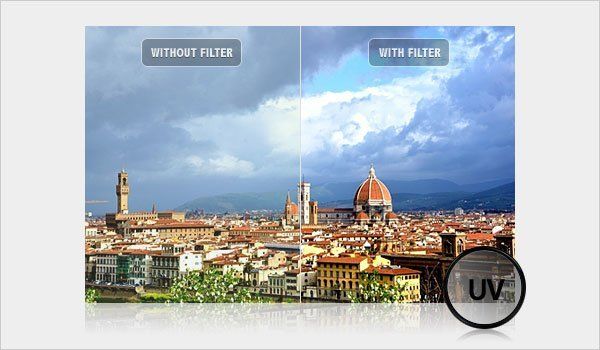
UV Filter
Ultra Violet filters are transparent filters that block ultra-violet light, in order to reduce the haziness that is noticeably apparent in some daylight photography. UV filters don’t affect the majority of visible light, so they are a perfect form of lens protection and they will not alter your exposure. There are some “strong” UV filters that are more effective at cutting atmospheric haze and reducing the notorious purple fringing that sometimes shows up in digital photography. Purple fringing is a purple ghost that you see at the edges of a subject when it is slightly out of focus.
Polarizing Filter
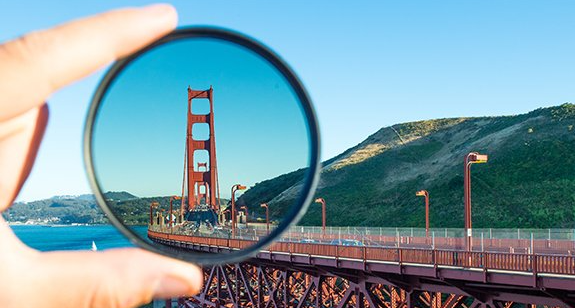
A Polarizing filter can be used to darken overly light skies as it increases the contrast between clouds and the sky. Like the UV filter, the Polarizer reduces atmospheric haze, but also reduces reflected sunlight. The most typical function of a Polarizer is to remove reflections from water and glass. When angled (or spun) properly, the Polarizer eliminates the reflection when shooting through a glass window or into water; a handy trick to be sure! There are two types of polarizers: linear and circular. Both types of polarizers produce a similar effect, except the circular polarizer eliminates unwanted reflected light with the help of a quarter-wave plate. The resulting image is free of reflected light, and transparent objects like glass are free of reflections.
Color Balancing Filter
As you know, visible light is made up of a multiple color spectrum. But in photography, you have to make a choice to capture images with the camera’s white balance set to record whitish blue light of daylight or set to record the reddish-orange tungsten (incandescent) light… with a few variations (i.e. sodium-vapor or fluorescent). This is what the white balance is used to control, and you use a color balancing filter to affect a change in your light sources.
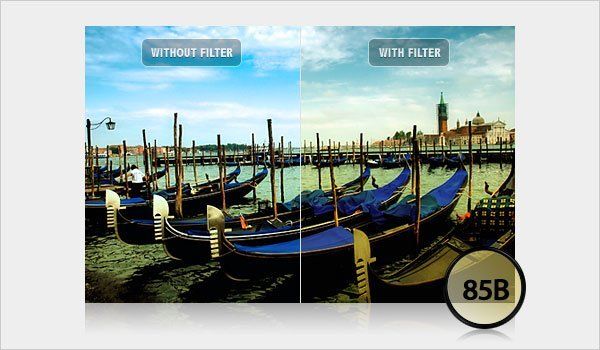
However, you can use a Color Balancing filter to compensate for the various differences in the photographed color of light (e.g. daylight is cooler and appears blue, whereas tungsten is warmer and appears reddish orange). The 85B (warm-up/orange filter) and the 80A (cool-down/blue filter) are the two standard filters for compensating for color balancing. The 85B enables you to shoot in the daylight when the white balance/color temperature is set for tungsten. Without the 85B filter, your image will have a blue color cast to it. The 80A enables you to shoot under tungsten light when the color temperature/white balance is set for daylight. Without the 80A, your image will be abnormally warm/reddish orange.
These filters have fallen out of use recently because this type of color temperature correction can easily be achieved with image processing software. Some photographers use them for various artistic affects.
Neutral Density Filter
Attaching a neutral density (ND) filter to your lens uniformly reduces the amount of light entering the lens. The ND filter is helpful when the contrast between the highlights and shadows is too great to get a quality exposure. The ND Filter also can enable greater motion blurring and image detail by allowing a large aperture and/or a slow shutter speed to be used. A variant on the ND filter is the graduated ND, in which there is a gradient that effects the reduction of light in a graduated, neutral level from 100% to 0% across the length of the filter. The Graduated ND is recommended for shooting landscapes and seascapes, because you can reduce the brightness of the sky (for better contrast) but still maintain an affecting exposure of the land or water.
Filters for B&W Photography
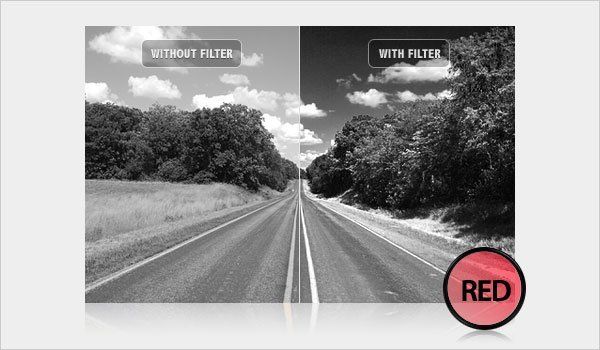
There are specific filters for B&W photography that lighten similar colors and darken opposite colors, thereby enhancing the monochromatic look. There are Red, Orange, Yellow, Green and Blue filters for use in B&W photography.
Red filters are a favorite among landscape photographers and are often used to add drama. In nature photography, a red filter will increase the contrast between red flowers and green foliage. A red filter will deepen a blue sky and make white clouds pop out. It can also decrease the effects of haze and fog. In some cases, depending on its strength, a red filter could even turn the sky black.
Orange filters increase contrast between tones in textures such as tile or bricks, making it a good choice for general use and urban or abstract photography. It also helps to decrease haze and fog, but it’s effects on the sky and clouds are subtler than the red filter.
Yellow filters are even subtler than orange filters, making it a ‘classic’ choice for beginners just starting to explore using filters with black and white photography. It helps to darken the clouds slightly, and it also separates light green foliage from the darker shades of green.
Green filters lighten dark green foliage and boost light green foliage. They have a more specific use and are not as commonly used as the other filters, but green filters are extremely useful for the nature photographer. Green filters may lighten the sky, so landscape photographers should take note of this when using it.
Blue filters are not as commonly used in black and white photography because they lighten the sky and darken highlights or colors that are seen as light. Blue filters can draw attention to haze and fog, which can enhance the mood of the photo if needed. It’s a good idea to experiment with this filter using the B&W setting, as opposed to shooting in color and converting the image to B&W in an image processor.
Since a filter absorbs light, it necessitates an increase in exposure. Filter-makers will usually suggest an amount of exposure compensation in the form of a “filter factor”. A filter factor of 2X means that you should multiply the exposure by 2. A filter factor of 4X means that you should multiply your exposure by 4, and so on. If the filter factor is 2X and 4X, add 1 f/stop and 2 f/stops to your exposure respectively. Another alternative is to divide your ISO by the filter factor. If the filter factor is 2X and your ISO is 200, your new ISO is 100.